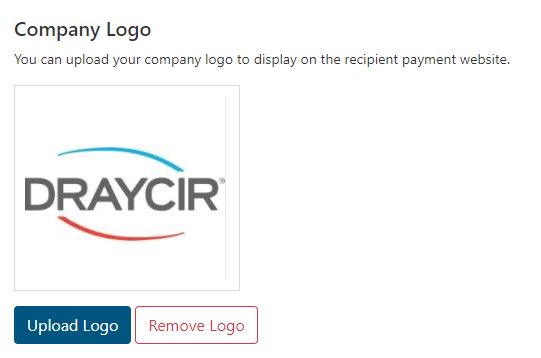
This section of Paythem settings allows you to add a logo to your payment webpage and confirmation emails.
Administrators Only!
You need to be an administrator to access settings. If you are not an administrator then this section will not be available to you.
How to get to Customisation
Customisation can be found under the Settings cog icon in the bottom left-hand corner of the menu. Click on the icon and when the menu appears click on Customisation.
Adding a Company Logo
To add a company logo follow these steps.
- Go to Settings > Customisation (see above).
- Click Add Logo in the bottom left-hand corner.
- A pop up window will appear allowing you to select a logo from your files
- Select your logo file then click Open
- You will return to the customisation page and your logo will be shown on screen
File Requirements
Your logo must be a JPG or PNG and the file size must not exceed 2MB
Removing a Company Logo
To remove a logo follow these steps.
- Go to Settings > Customisation (see above).
- Click Remove Logo in the bottom left-hand corner.
